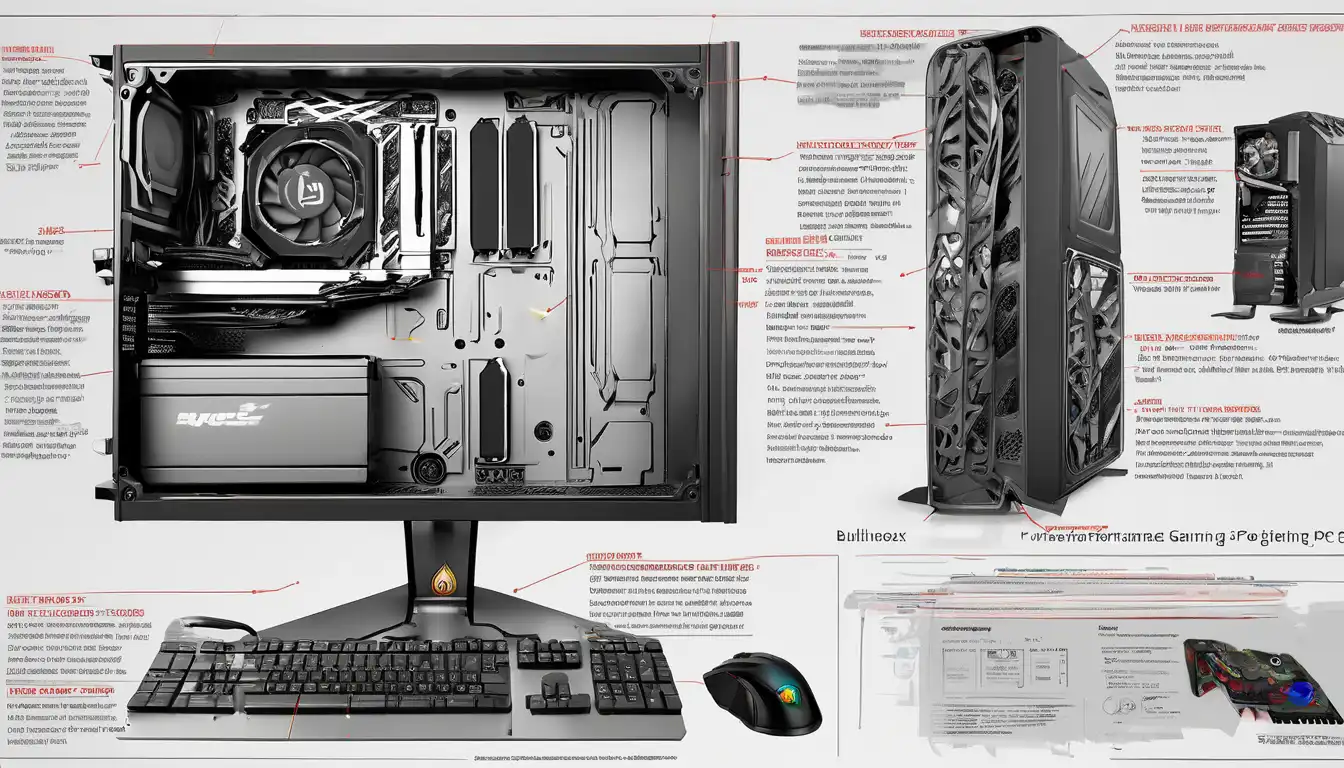
Introduction to High-Performance Gaming PC Construction
Building a high-performance gaming PC represents an exciting journey into the world of custom computing. Unlike pre-built systems, constructing your own gaming rig allows for complete customization, better value for money, and the satisfaction of creating something uniquely yours. This comprehensive guide will walk you through every step of building a powerful gaming computer that can handle the latest titles at maximum settings.
The process may seem daunting at first, but with proper planning and the right components, anyone can assemble a professional-grade gaming system. Whether you're aiming for 4K gaming, high refresh rates, or streaming capabilities, this guide covers all the essential elements you need to consider.
Essential Components for Your Gaming Build
Central Processing Unit (CPU)
The CPU serves as the brain of your gaming PC, handling all computational tasks. For gaming purposes, you'll want a processor with high single-core performance. Modern games benefit from CPUs with at least 6 cores and 12 threads. Popular choices include AMD Ryzen 7 series and Intel Core i7 processors. Consider your budget and performance requirements when selecting between these two major brands.
Graphics Processing Unit (GPU)
Arguably the most critical component for gaming, the GPU determines your system's graphical capabilities. High-end gaming requires dedicated graphics cards from NVIDIA's RTX 3000/4000 series or AMD's RX 6000/7000 series. The GPU you choose should align with your target resolution and refresh rate. For 1440p gaming at high refresh rates, consider mid-range options, while 4K gaming demands top-tier graphics cards.
Motherboard Selection
Your motherboard acts as the foundation that connects all components. Key considerations include chipset compatibility with your CPU, sufficient PCIe slots for expansion, and adequate connectivity options. Ensure the motherboard supports your chosen CPU out of the box and provides enough headers for your storage devices and peripherals. Look for features like built-in Wi-Fi, multiple M.2 slots, and robust VRM designs for better power delivery.
Memory (RAM) Requirements
Modern gaming systems require a minimum of 16GB DDR4 or DDR5 RAM, though 32GB has become the sweet spot for high-performance builds. Pay attention to RAM speed and latency timings, as these factors impact gaming performance. Dual-channel configurations (using two or four sticks) provide better performance than single-channel setups. For AMD systems, faster RAM often yields noticeable improvements.
Storage Solutions
Storage technology has evolved significantly, with NVMe SSDs offering blazing-fast load times. A combination of a fast NVMe SSD for your operating system and games, coupled with a larger SATA SSD or HDD for mass storage, provides the ideal balance of speed and capacity. Consider PCIe 4.0 or 5.0 NVMe drives for maximum performance if your motherboard supports them.
Power Supply Unit (PSU)
Never compromise on your power supply quality. A reliable PSU with sufficient wattage and high efficiency rating (80 Plus Gold or better) ensures stable operation and protects your investment. Calculate your system's power requirements and add 100-200W headroom for future upgrades. Modular PSUs make cable management significantly easier during the building process.
Case and Cooling
The PC case affects both aesthetics and thermals. Choose a case with good airflow, adequate space for your components, and cable management features. Cooling solutions range from air coolers to all-in-one liquid coolers. Proper thermal management is crucial for maintaining performance and component longevity. Consider additional case fans for optimal airflow.
Step-by-Step Building Process
Preparation and Workspace Setup
Before beginning assembly, prepare a clean, static-free workspace with adequate lighting. Gather all necessary tools, including screwdrivers, cable ties, and thermal paste. Read through all component manuals and watch tutorial videos if this is your first build. Ground yourself frequently to prevent electrostatic discharge damage to sensitive components.
Motherboard Preparation
Start by installing the CPU, RAM, and M.2 SSDs onto the motherboard before placing it in the case. This approach provides better access and reduces the risk of damaging components. Apply thermal paste carefully if using an aftermarket CPU cooler, following the manufacturer's recommended pattern. Secure the CPU cooler according to instructions, ensuring even pressure distribution.
Case Preparation and Component Installation
Prepare the case by installing the power supply, removing necessary panels, and routing cables beforehand. Install the I/O shield that comes with your motherboard. Carefully lower the prepared motherboard into the case, aligning it with the standoffs. Secure the motherboard with screws, being careful not to overtighten. Install storage drives in their designated bays and connect necessary power and data cables.
Graphics Card Installation
Remove the appropriate PCIe slot covers from your case. Align the graphics card with the primary PCIe x16 slot and press firmly until it clicks into place. Secure the card with screws to the case bracket. Connect the necessary power cables from your PSU to the graphics card. High-end GPUs may require multiple PCIe power connectors.
Cable Management and Final Connections
Proper cable management improves airflow and aesthetics. Route cables through designated channels and use zip ties to secure them. Connect front panel headers, USB ports, and audio jacks according to your motherboard manual. Double-check all connections before proceeding to the next step. Ensure no cables obstruct fans or other moving parts.
Initial Boot and BIOS Configuration
Connect your monitor, keyboard, and mouse before powering on the system. Enter the BIOS/UEFI interface to verify that all components are detected correctly. Enable XMP/DOCP profiles for your RAM to achieve advertised speeds. Configure boot priorities and update the BIOS if necessary. Save settings and exit to begin operating system installation.
Optimization and Performance Tuning
Operating System and Driver Installation
Install your preferred operating system, with Windows 10 or 11 being the most common choices for gaming. After OS installation, download and install the latest drivers for your motherboard chipset, graphics card, and other components. Use manufacturer websites rather than third-party driver utilities for the most reliable results.
Software Optimization
Configure Windows for optimal gaming performance by adjusting power settings to high performance mode. Disable unnecessary startup programs and background services. Install essential gaming software like Steam, Discord, and hardware monitoring tools. Consider using optimization software provided by your component manufacturers for additional performance tweaks.
Overclocking Considerations
For enthusiasts seeking maximum performance, overclocking can provide additional frames per second. However, this requires careful consideration of thermals and stability. Start with GPU overclocking using software like MSI Afterburner, then progress to CPU overclocking if you have adequate cooling. Always stress test your system after making changes to ensure stability.
Thermal Management and Monitoring
Install monitoring software to track temperatures and performance metrics during gaming sessions. Maintain clean airflow by regularly dusting your system and ensuring fans are functioning properly. Consider custom fan curves in your BIOS or through software utilities to balance noise and cooling performance.
Future-Proofing and Upgrade Path
When building a high-performance gaming PC, consider future upgrade possibilities. Choose a motherboard with additional PCIe slots and RAM capacity for expansion. Select a power supply with extra wattage headroom for future component upgrades. Keep an eye on emerging technologies like PCIe 5.0 and DDR5 to understand how they might affect your upgrade options.
Regular maintenance, including driver updates and system cleaning, will ensure your gaming PC continues to perform optimally for years to come. As new games and technologies emerge, you'll have the foundation to make strategic upgrades rather than complete system replacements.
Conclusion
Building a high-performance gaming PC is a rewarding experience that results in a system tailored to your specific needs and preferences. By carefully selecting components, following proper assembly procedures, and optimizing your setup, you can create a gaming rig that delivers exceptional performance across all your favorite titles. Remember that the PC building community offers extensive resources and support, so don't hesitate to seek advice when needed.
With your new custom-built gaming PC complete, you're ready to experience gaming at its finest. The knowledge gained through this process will serve you well for future upgrades and builds, making you part of the vibrant PC building community. Happy gaming!